

One Author’s Quick Guide to Reaper
Part 2 of Author Recording Audiobooks
I have just completed the process of recording a 10-ish hour novel. It wish my work were more perfect, I can accept it as it is. We’re not publishing for six months, so if I need, I can sneak back in, fix a chapter and push it through my publisher, to Ingram, thus to distribution. As mentioned in the first article where I cover basics related to equipment and setup, the effort to record one’s own work takes (1) time (2) tech (3) skills (4) patience and most importantly (5) work.
Yes, it is work.
I am performing for a boring blue wall and a 48” wide curving monitor. I kinda hafta remember I am performing and think about reaching out to the audience with my voice, keep then engage and use enough dynamics in my voice to guide the listener.
This follow-up article is primarily about Reaper as a Digital Audio Workstation (DAW) but will cross over to performance/reading techniques that aid my future editing of the work.
Note
There is something odd about Substack in that when drafting articles, I hit size limits with too many images because there is a max for sending as an email. I will try to ignore that, but if you get the first draft of this, do try to return to the on-line version for updated images. I expect most will use this as an on-line guide vs using some email reader as a reference document.
No Affiliations
I am writing this following requests for fellow authors. I do not draw any financial reward, commissions, affiliate credit for tech referenced. Just sharin’.
Assumption
I am making an assumption that you have some basic skills with editing audio and/or video. If not, don’t start here. Head over to the University of YouTube for basics. Use this to refine the effort for an author narrating a book.
Order of Operations
Fellow authors, please understand that your final configuration will be different than mine. While my presentation will be linear, your workflow and tweaking of the system will not be. Your voice is difference, your equipment is different, your environment is different. The path from crappy to good-enough is not linear. Be patient with yourself (and me).
Initial Setup
When entering Reaper for the first time, or starting a new project without a project template, the software assumes you are a musician; the default mic is wrong; and more. Once you get this right then save your own “project template.” I wish my were better, but I keep improving it with each new go.
Options > Preferences (Ctrl-P on Windows)
General
Paths: Set this up for your own system. Put this work in a folder you find easily and if you have a cloud or off-site secure storage (I use Proton Drive) then use a folder there.
Device
Select your audio system. With my Shure SM7B mic & Volt1 amp, my setup looks thus:
Audio System: WASAPI
Mode: Shared
Input: INPUT (Volt 1) my mic
Output: Monitor L/R (Volt 1) my over-the-ears Sony MDR 7506
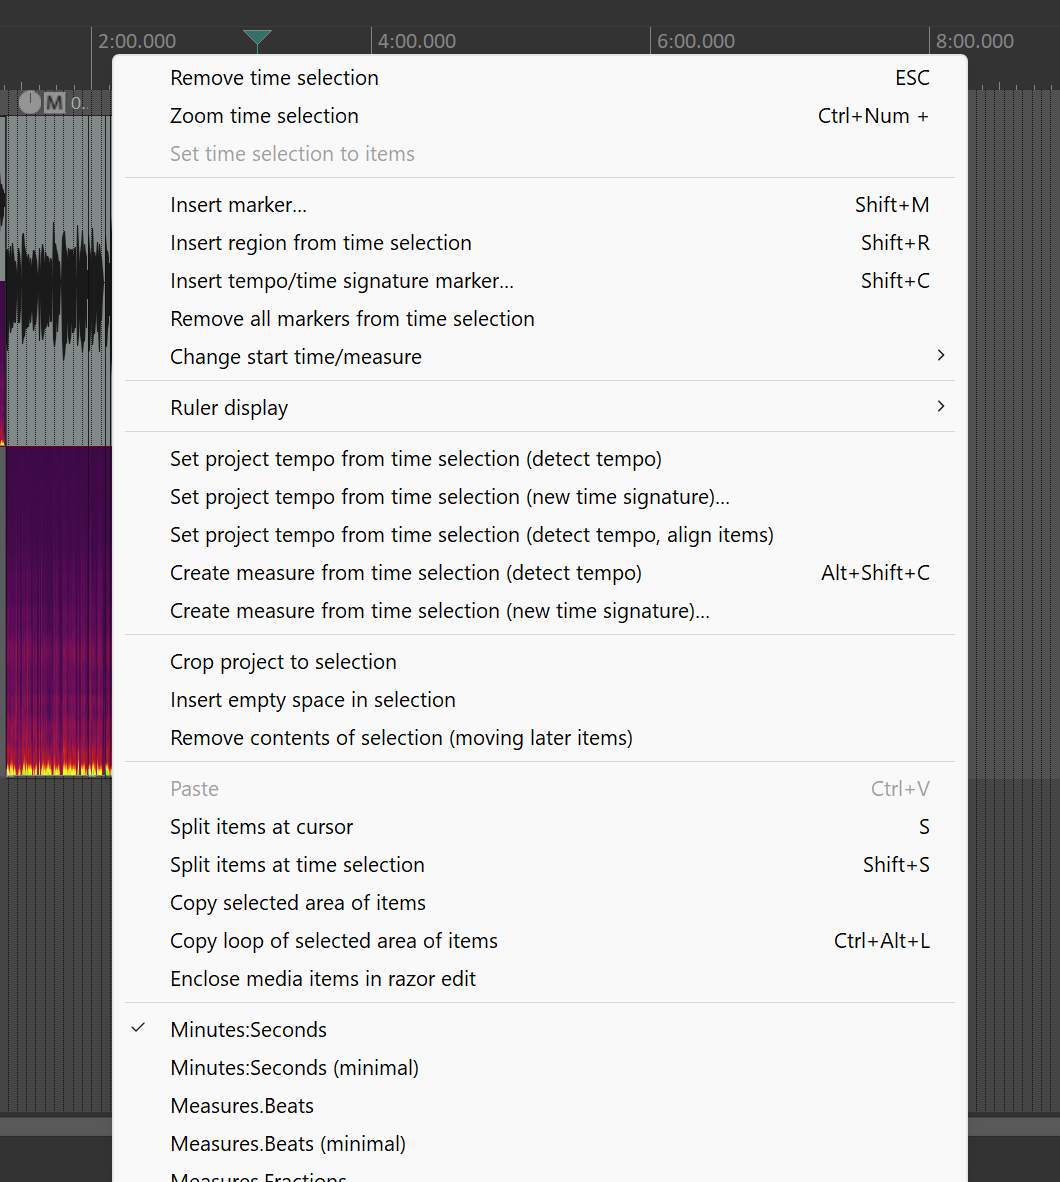
Time Signature/Time Line
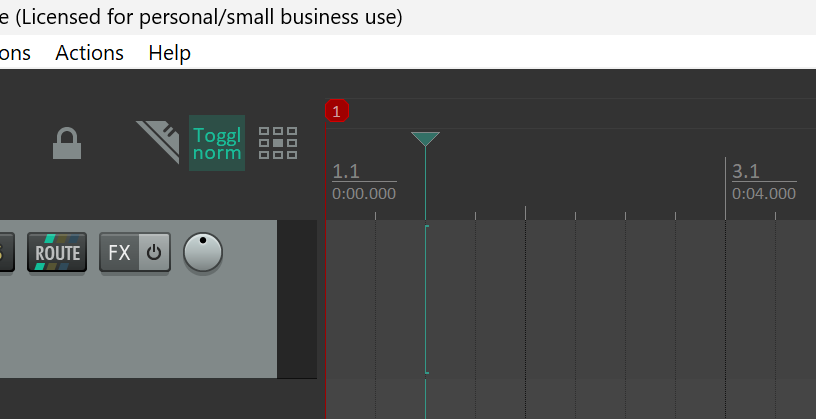
Right click on the horizontal region that includes the time signature. There is a lot of juice hidden in the unmarked regions above the waveform. For this, right click on the ruler-like entity. It is likely in “measures.beats”. Narration is done in minutes:seconds. Use the menu to select minutes:seconds.
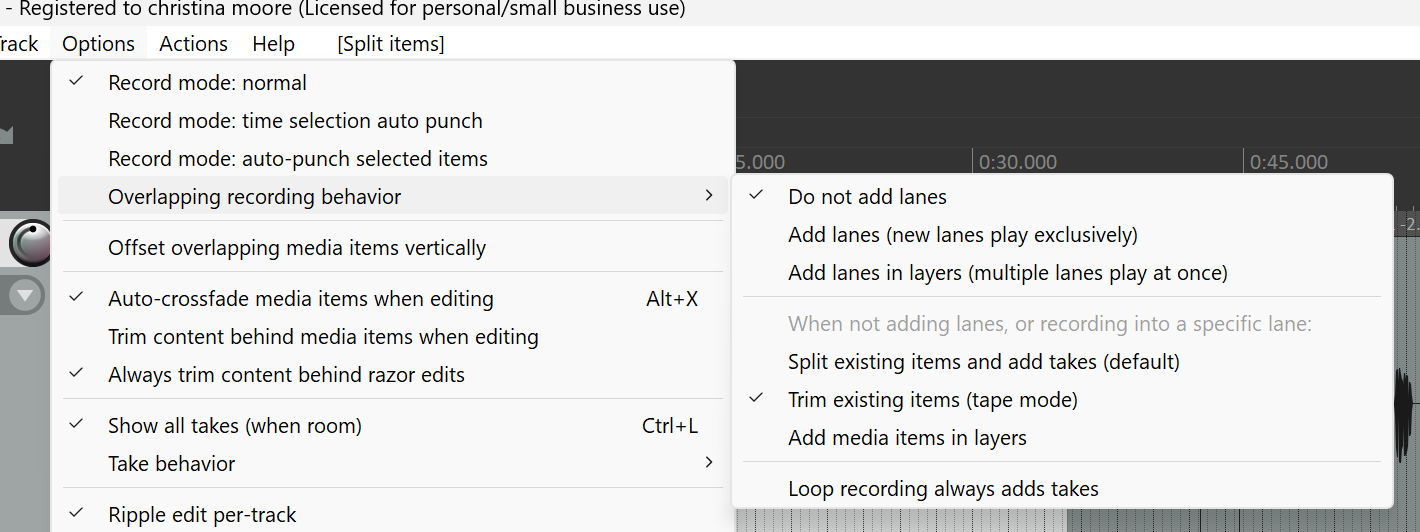
Takes
Reaper, by defaults, wants to preserve every utterance. It will create new “takes” on a whim. I find them annoying and they generate clutter. Yuck.
Menu > Options > Overlapping Recording Behavior
Select both:
Do not add lanes
Trim Existing Items (tape mode)
Tracks
Audiobooks have 1 track (generally, given I don’t love music in the middle of a narration). If your audio meter isn’t dancing as your mic picks up sounds, delete the track and open new. It should default to the correct mic/device.
Spectral Display
With a sample track up, right click on the track, then in the menu find “spectral edits > always show spectrogram”.
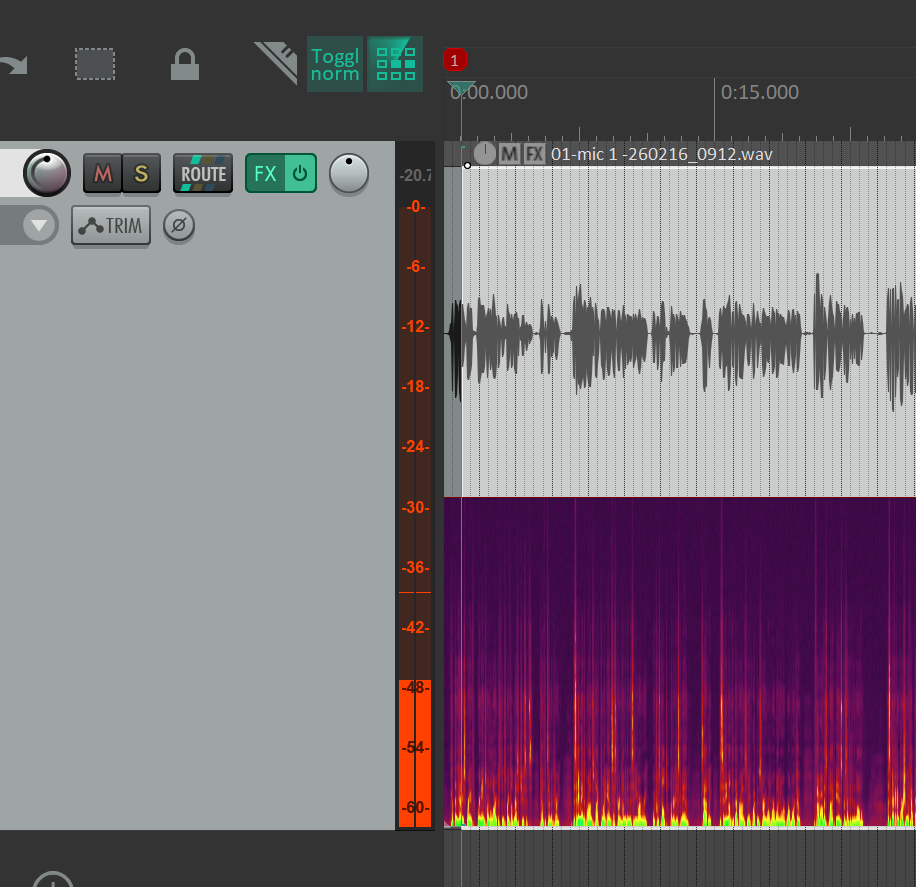
This is pretty geeky and real audio engineers could tell you all the cool stuff this does. I turn it on. Over the years, I have intuited some features. For one, the bright yellow stuff is “hot” (loud). I can see plosives and such in this. There are techniques for erasing some of this stuff. I can occasionally nibble down a plosive using this.
Ripple Editing
Ripple edit allow you to insert and delete in a manner you expect and can control. It inserts (instead of overwrite) and when you delete, it maintains spacing all the way down the track. With a 10-hour novel, order matters. Use Ripple Edit.
There is a grid of 9 squares. It is a 3 position switch:
1) No ripple edit (don’t use - generally)
2) Ripple Edit in Track (preferred)
3) Ripple Edit in Grid (alternate)
Select either 2 or 3 (see the graphic).
There are a few specific times near the end of a project I turn off Ripple.
Advanced Ripple Edit Topic
I’ve just finished a 10-hr novel with 26 “chapters” or regions. I re-recorded 2 chapters in the recent 2 days. I grouped all the small “items” within my chapter/region and on my one-and-only track (ctrl-click on items, then ctrl-g for group) This means that my chapter/region is 1 item, no splits, no gaps.
I jumped to the end of the track (“end” button), started a recording for the re-do. I edit it in place at the end. I group it after my edits. Now my new chapter is 1 item. My old chapter is 1 item. Both are marked with “region” markers (see below). I wiggle in just at the opening of the crappy version, with ripple on, I skooch it right giving me a tiny space to insert the entire new version chapter with my paste feature. Now I have 2 copies of the chapter. I zoom out (mouse wheel), move right, find the old (bad) one and delete it.
Occasionally, funny artifacts appear in the blank spaces between chapters/regions. I turn RIPPLE OFF and neatly use my “S” key to slice and delete so that my inter-chapter spaces are completely empty. If I have Ripple On, I seem to cause more problems and waste effort.
FX (Effects)
FX is the primary time saver in Reaper. I no longer have to remove my breath sounds and other tiny ticks and such. You will save yourself time if you learn to open your mouth without making a tick/click or other sound. Sometimes saliva does a thing. You’ll also want to inhale quietly through your nose. Booger and snot-free nostrils make editing better. Blow the schnooz and get it clean.
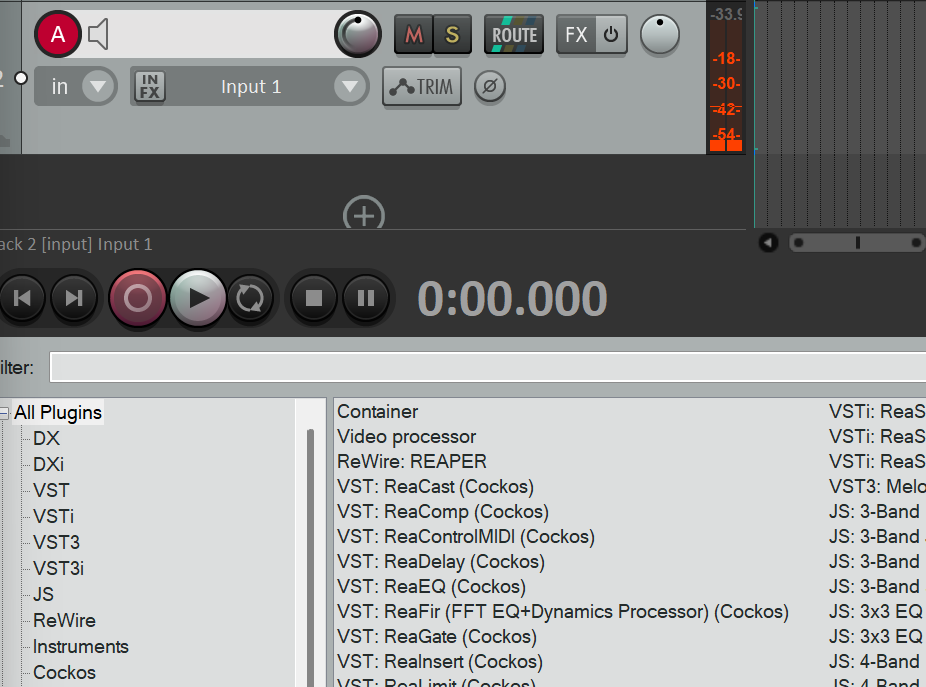
I strongly recommend using VST:ReaGate (Cockos).
On your track, click the FX button. You’ll get a list of all plugins. The one you want comes with. Reaper is amazing with plugin. Ignore all except VST:ReaGate (Cockos). There is a search feature.
Per ACX rules, the “floor” audio should be above -40db. In the image, I set my lower level at -30db. This is above the volume level of my now-trained quiet breathes.
The image shows you my setup. I still need to make an adjustment. It occasionally/rarely drops an “s” at the end of a sentence. My voice soften as the end of a sentence (more likely a paragraph). The volume of the “s” sound is below the -30db threshold. I need to fuss at Hold and Release a bit.
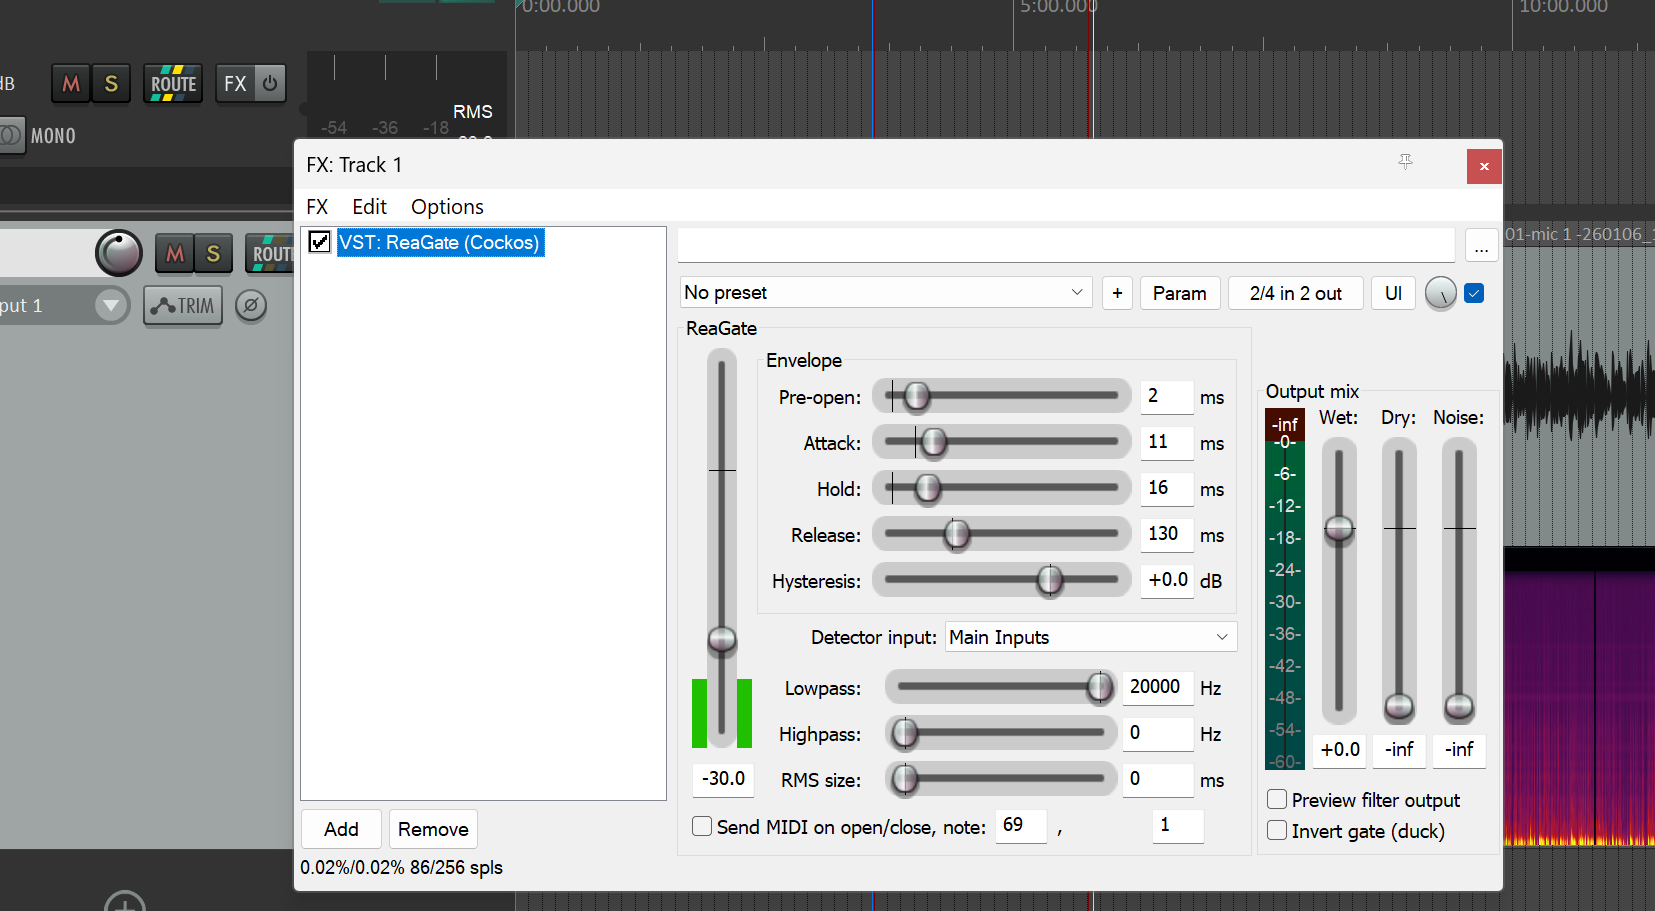
What is very cool about this is that you can play your book with the ReaGate working. Before adding levels you can play a second and see how it looks with the dancing green bars.
Here’s How
In the region with the timeline or the region immediately below, click and drag through a small section of audio. Click the “repeat” button (between play and stop, look like a circle with arrows). The with your “tape head” inside the region, hit play.
If you want to set your minimum threshold above the standard breath, select a small region with only the breath sound, put on repeat, press play, then adjust the floor knob. If it is too high, you’ll cut soft letters. If too low, you’ll be cutting breaths from the tape by hand.
The other knobs are a bit of a guess. YouTube from professionals will help. I am at good-enough with the settings shown below.
In Adobe Audition I spent a huge amount of time either cutting breath sounds or isolating them and adjusting their volume down. I’ve halved my editing efforts.
Project Templates
With basic settings at “good enough” create and save a project template for yourself. When you open Reaper, it will open to your last project. In general, it assumes you are continuing work.
To start a new project, close all, then File > Open Project Templates and select yours. You’ll be pretty well set. If you also set your Render features, these will remain with the project template (See 1st article and ACX standards).
Chapter/Sections & Reaper Regions
In Reaper, Regions are chapter. A “chapter” is a section of a book that may include:
Intro (required)
Dedication/Author notes
Chapters
Section Breaks (“book 2” or “part 3”)
End notes
Outro (required)
When rendering, each Region becomes its own audio file with its own meta data. The file will be named based on your setup (typically $project_$regionname). I therefore, put numbers at the front of my chapter names (01, 02) so that these sort alphabetically. Use a zero to the left of single digits, else chapter 11 follows chapter 1. It would look like 1, 11, 12, 13, 14, 2, 3 (alphabetizing numbers is odd). With the zero, you get 01, 02, etc).
Project Render Metadata
It maybe possible that these data get expunged as the files go through distribution. I do it regardless and I do it to improve rendering. This feature is under the file menu.
This list is
Overwhelmingly long
Designed for every type of user
I make sure I complete the following:
General | Title (see note below)
General | Description (for subtitle)
Artist | Artist (author)
Artist | Performer (me, author)
Musical | Genre – audio book
License | Copyright Message – I have an LLC for this
License | Copyright holder -
Binary – I also upload the final cover as a jpg/png
Note: General Title
There is a wildcard called $project associated with title. Use an appropriate but short title to start. I ignore my long-ass subtitles or even use the common short hand (“Little Ambulance War” instead of “The Little Ambulance War of Winchester County”). This “title” will be part of every filename.
Prior to my final render, I will duplicate the entire finished project, leaving the original alone. My publisher distributes through Ingram. Your rules may differ.
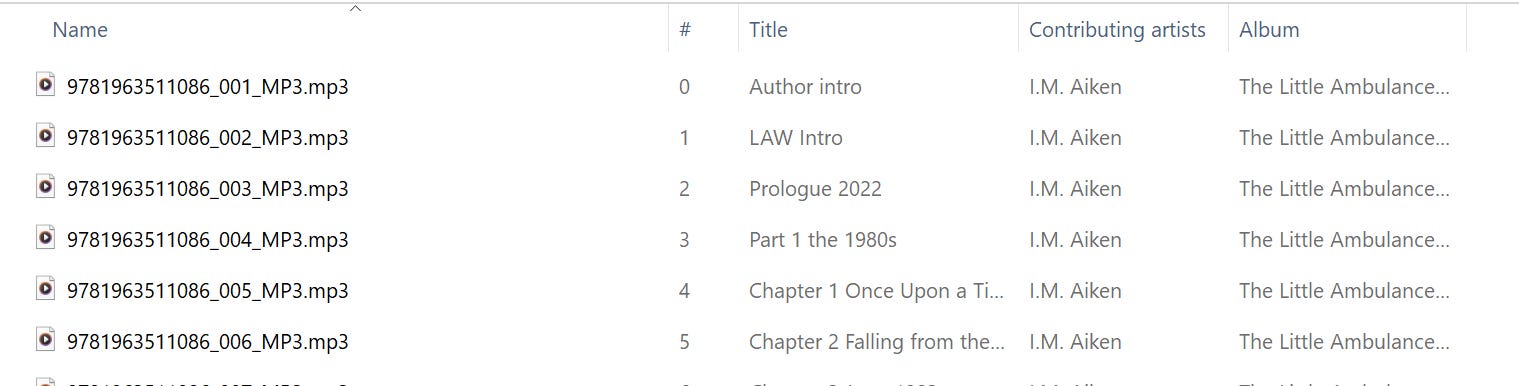
Ingram uses a poorly designed convention for audiobook file names:
ISBN_001_MP3.mp3
For the Little Ambulance War it looks like the image below:
9781963511086_001_MP3.mp3
Prior to my final render, I will duplicate the entire finished project, leaving the original alone. In this version, I will change the title to be the ISBN for the audiobook (print, audio, ebook each have their own ISBN, use the correct one).
I will also change the Region names so that they are numeric and sequential.
“Intro” becomes 001
“Author’s Note” becomes 002
“Dedication” (2 pages) becomes 003
Chapter 1 becomes 004
etc.
When I render, my output filename is: $project_$regionname_MP3
Why they want MP3 in caps in the filename when the file is an “mp3” with “.mp3” as the file extension is unknown to me. Play by their rules.
This saves hours of effort in renaming which I had to do with Adobe Audition.
I.M. Aiken, Author & narrator
“The Little Ambulance War of Winchester County” (2024)
“Stolen Mountain” (2025)
“Trowbridge Dispatch” - fictional short stories/podcast
“Captain Henry: 2½ Insurrections, 2 Wars, 1¼ Centuries, and a story of Love” (2026)
follow along at